Important Vehicle Safety Checks for Your Van
Carrying out frequent checks on your vehicle is essential to ensure it is in a roadworthy condition. You should check your van regularly and any problems should be repaired as soon as possible.
To make this as simple as possible, we’ve put together a vehicle safety checklist that you can use to carry out your vehicle checks.
Jump to:
How to check tyres are in a roadworthy condition?
How to check your brakes for wear?
Check the various vehicle fluids
Making additional vehicle checks
How to check tyres are in a roadworthy condition?
The condition of your tyres should be closely monitored for wear and tear, neglecting them puts yourself and others at risk on the roads.
Your tyres are an essential part of your driving experience and the only point of contact between the road and your vehicle. They have many vital functions, including providing grip for braking, acceleration and maintaining steering and directional control. Without roadworthy tyres, you can impact the safety of yourself and others on the roads.
Start with visual inspections
You should take a thorough look around every tyre, checking for visible cracks, cuts, tears or bulges. Check for any objects like stones and nails that could be in the tyre and review the side wall for any damage.
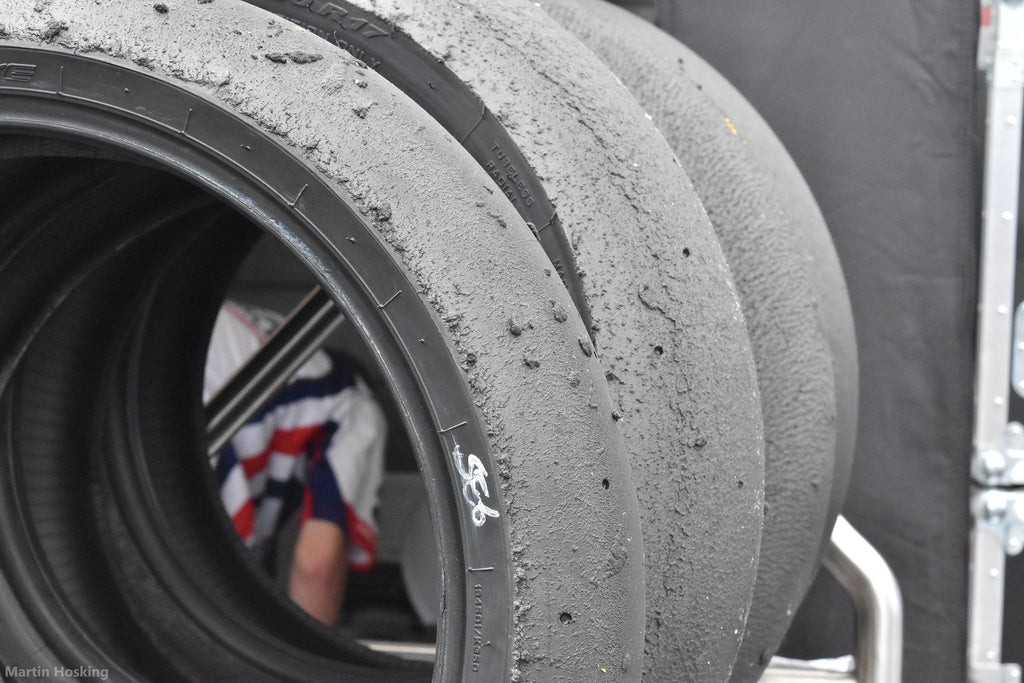
Check the tyre tread
Checking your tyre tread depth is important because the tread grips the road as you drive. If the depth isn’t deep enough, your vehicle can lose traction and increase braking times. This can also make your vehicle harder to control, especially in wet weather, increasing the chances of aquaplaning.
You should get into a habit of checking your tyre tread depth once every two weeks or at the very least, once a month. This is vital, especially if you travel on long journeys and on motorways.
How to check your tyre tread?
Park your vehicle on a flat and even surface away from moving traffic before checking your tyre tread. The legal requirement for tyre tread depth in the UK is 1.6mm and you can measure this using a depth gauge, a tool that measures the depth of the grooves in your tyre.
If you don’t have a depth gauge, look for the treadwear indicators, small raised areas moulded into the grooves around the tyre. If the tread rubber is level with these, the tread depth is approaching the legal limit and should be checked by a professional and replaced.
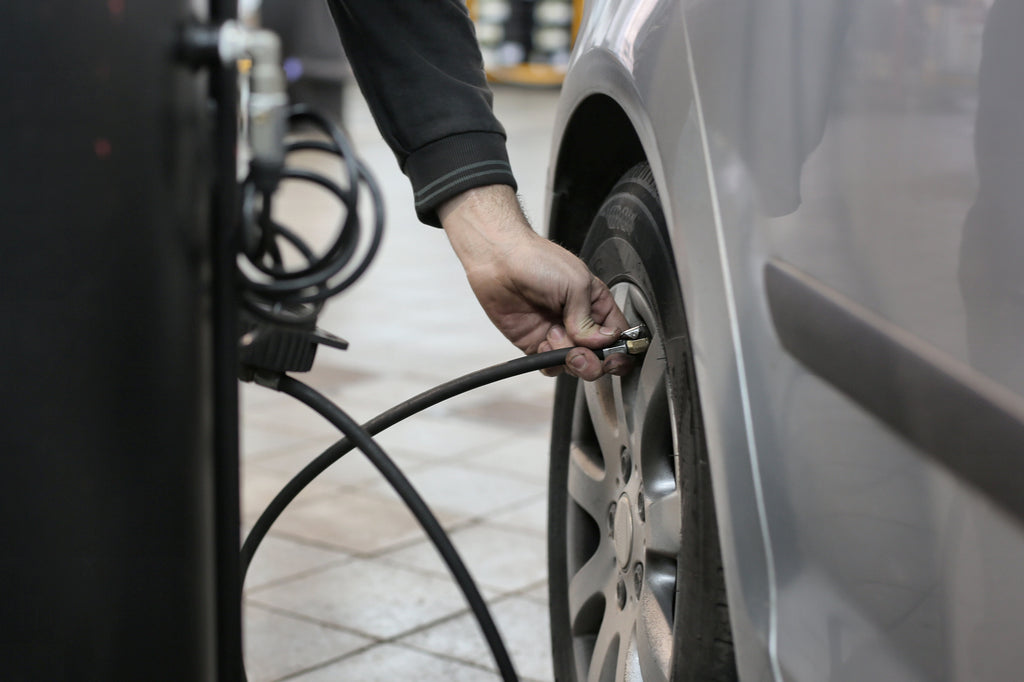
Monitor your tyre pressure
Checking your tyre pressure is vital for your safety and to maximise the life of your tyres. If the pressure is too low, it can make your tyres more susceptible to wear and tear, as well as affecting the handling of your vehicle.
You should check your tyre pressure every week and you can find the correct tyre pressure for your specific vehicle in the driver’s handbook.
Manufacturers advice can differ, although most recommend checking tyre pressure once a month and before a long journey.
How to check tyre pressure?
For an accurate reading, check the tyre pressure when the vehicle has been stationary for a while. Use a pressure gauge or us an air compressor at your local petrol station. Ensure they’re inflated to the pressure stated in the vehicle handbook.
Check your vehicle lights
Checking your vehicles lights is a simple and easy check to make on your vehicle and should be done before every journey you take.

Before checking your lights, ensure they are clean. You should be able to check most of the lights yourself by activating them and then stepping out of the car to look.
When checking your brake or reversing lights we recommend testing them with a reflective surface behind you such as a window or white garage door so that you can see the light in the reflection. Alternatively, ask someone to help you.
Remember some vehicles have daytime running lights so these will need to be checked in addition to others.
To start with, turn the ignition on and systematically go through all your light checks.
- Sidelights – Look out for the brightness of the light, ensure there is no flickering.
- Main beam – Check they are of even brightness, ensure there is no flickering, and don’t forget to check the headlights and taillights.
- Full beam – Perform the same checks as the main beam. When your full beam is activated the headlights should get brighter whilst the taillights remain at the same brightness and when your main beam is activated.
- Fog lights - Look out for differences in the level of brightness and flickering. Fog lights have a dimmer to adjust the level of brightness depending on the density of the fog. Adjust the levels to make sure that your fog lights are not defective at different brightness levels.
- Brake lights – Both brake lights should be equally as bright and work as soon as your foot is placed on the brake, check for flickering.
- Reversing lights – Depending on the make and model of your vehicle you may have one or two reverse lights, sometimes there is even a third near the rear window. Refer to your owner’s manual if you are unsure how many your vehicle should have. Your reverse lights should activate when the vehicle is on and in reverse gear, check for brightness levels, and flickering.
- Left and right indicators – You will have a front and rear indicator to the left and right of your van, many vehicles have a third on either the wing mirrors or side panel. When the indicators are activated you should look for even flashing at a reasonable pace, too fast or slow may mean an electrical fault.
- Hazard lights – When you press the button to activate your hazard lights all indicator lights should flash evenly and at the same time.
- Number plate lights – Your number plate lights should sufficiently illuminate the plate so that it is visible to other road users. Check that it is working and there is no flickering.
If any of these lights have faults your car will be deemed un-roadworthy. Lighting issues can cause problems for your vehicle passing an MOT. If stopped by the police you may receive a warning, fine or points on your license.
Many vehicles can adjust the level of light brightness, you should always refer to the user’s manual for instructions on how to do this.
Changing a bulb on your vehicle lights varies greatly from model to model, consult your owner’s manual, and if in doubt visit your nearest garage for help and advice.
How to check your brakes for wear?
Vital to protect both yourself and other road users, brakes are used to slow down and stop your vehicle in both emergency and non-emergency situations. If your brakes are not functioning effectively, not only could you have an accident, you may be fined and given points on your license or even be prosecuted.
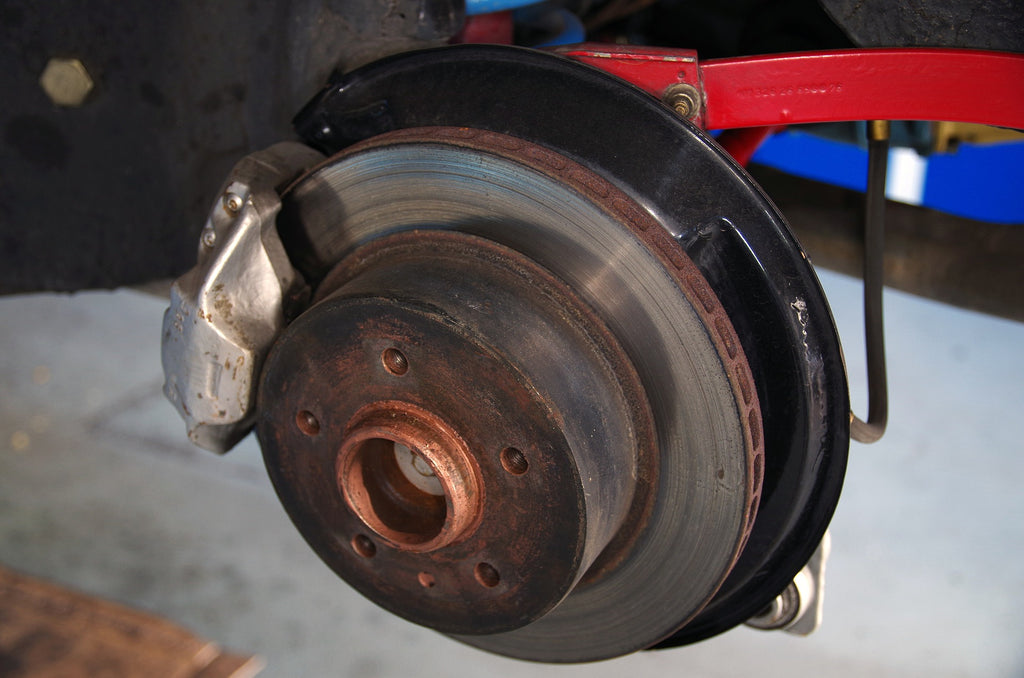
For each wheel, there is a brake system consisting of a brake disc, brake calliper and a pair of brake pads. When the brake pedal is pushed, hydraulic fluid in the brake calliper pushes the brake pads against either side of the rotating brake disc.
Check the brake pads
Brake pads use friction and pressure to bring your car to a stop by pressing against the brake disc. There is no set time to how long a brake pad will last, this will vary depending on the style of your driving, the condition of the roads you frequent, and how often the vehicle is driven. Generally, this can be anywhere between 25,000 and 60,000 miles.
Quite often you can perform a visual check on your brake pads, this will depend on the model. You may be able to see the outer pad by looking through the spokes of the wheel. You should be able to see at least 3mm of the brake pad, any less and you should investigate further.
When to change car brake pads?
The warning signs that your brake pads need replacing include:
Brake warning lights – Most vehicles have brake warning lights on the dashboard, alerting you when one or more brake pads are worn and need replacing. Unfortunately, not all vehicles are fitted with this, so it is imperative to perform regular checks to ensure that they are fully functioning.
Brakes squeaking or screeching – If you hear loud sounds when applying the brakes then they may need replacing. If you hear an unpleasant grinding sound, it’s an indication your brakes have worn down completely and need changing immediately.
Vehicle pull – If your vehicle is pulling to one side when braking, it may be an issue with your brake pads.
Brake pedal vibrations – If you apply your brake pedal and it vibrates then this could mean they are damaged or there is excessive wear.
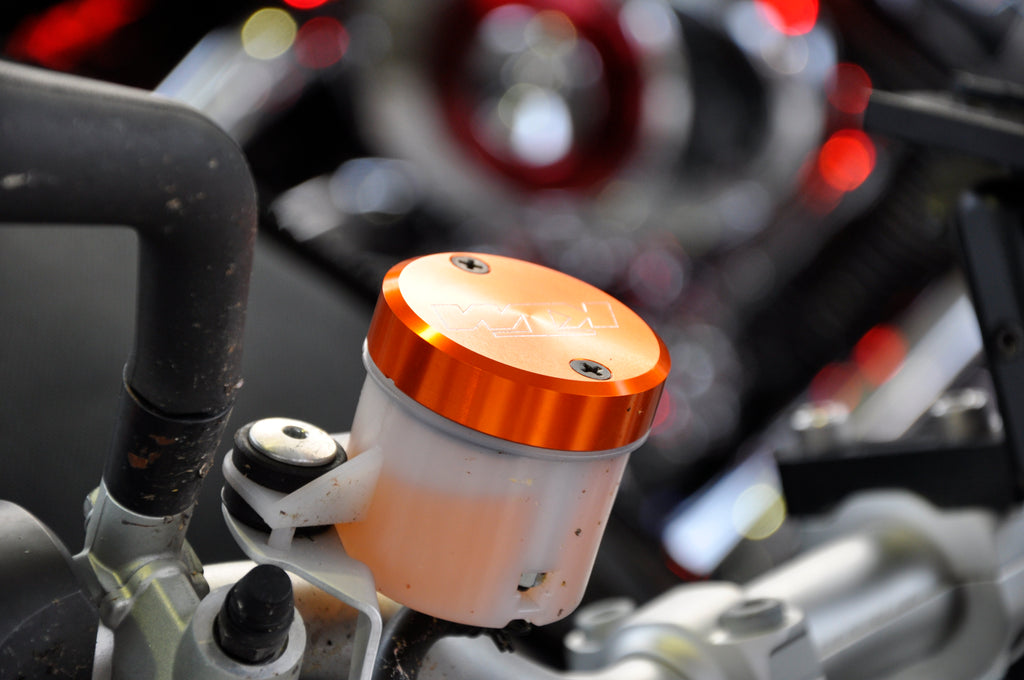
Check the brake fluid
Hydraulic brake fluid is needed to brake safely and quickly. It is activated when you press the brake pedal and helps push the brake pads against either side of the brake disc. It acts as a lubricant for moving parts preventing corrosion and removing moisture.
When to change brake fluid?
Look out for the following signs that indicate it may be time to change or flush your brake fluid:
- Brake or ABS warning light on dashboard appears
- Excessive pressure is needed to use your brake pedal
- Braking is needed earlier than normal
- Longer response time when applying the brake – If your brake pedal goes all the way to the floor this can be a sign of leaking or damaged fluid lines
- Brake pedal feels spongy – The most common cause is air in the brake lines but always have a professional check for damages and leaks or worn parts that need to be replaced
Check the brake discs
Usually made of iron or a carbon composite, the brake disc rotates as the car moves. When the brake is applied the pads clamp the disc and the friction causes the vehicle to stop.
How often do car brake discs need replacing?
The life span of your brake disc will vary depending on your driving style, road conditions, and how often the vehicle is used.
Eventually, your brake discs may get thin and need replacing to ensure that your vehicle braking system works efficiently, and your vehicle does not overheat.
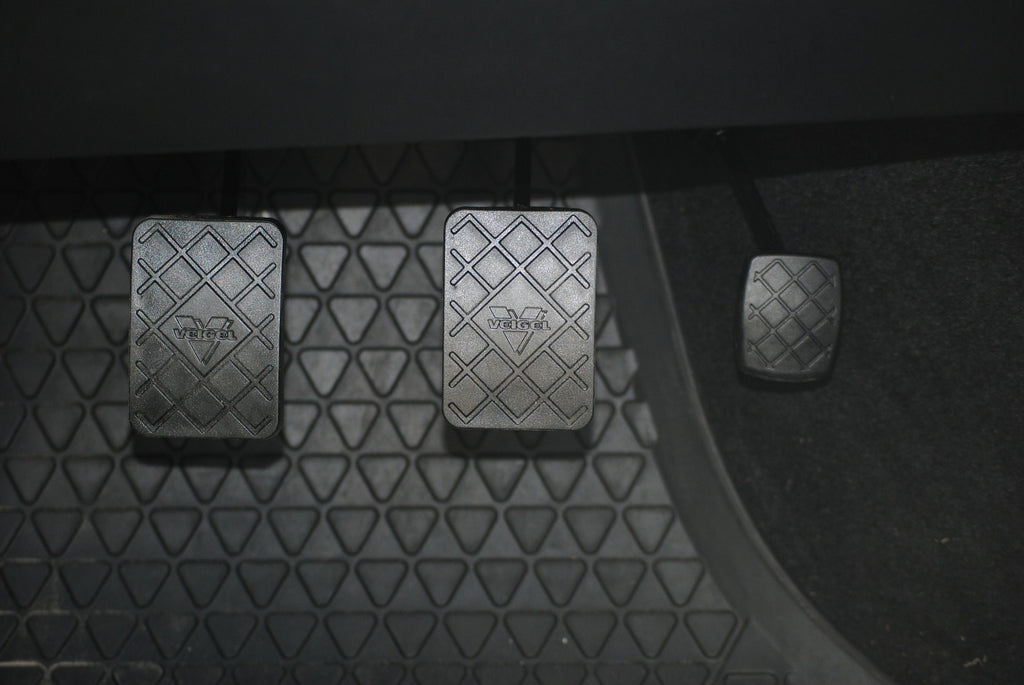
Check the brake pedal
The brake pedal is the start of the ‘brake chain’ and visibly it should look in good condition. Ensure it is intact with no pieces missing, cracks, or other defects. Keep your vehicle clean and tidy to make sure there are no obstructions such as rubbish that can roll under your pedal.
How do I replace my brakes?
Your brakes are checked when your vehicle has a service or MOT.
You will be advised on the condition of the components and if any need replacing or if there is an indication that they will soon need changing.
If any component needs replacing, we recommend seeking professional help and advice rather than attempting this yourself. Whilst often cheaper to attempt yourself, you can’t put a price on your own safety or that of other road users.
Check the various vehicle fluids
Checking a van’s fluid levels is easy enough for any driver. Park it on level ground and make sure the engine is cold unless otherwise instructed.
Look along pipes for cracks and check for obvious leaks, looking on the floor under your vehicle and running your hand over and around the fluid containers – again, make sure your car is cool first to avoid burning yourself.
How often should you check the fluids in your van
There are many different fluids needed in your van, and each will be used up at different times. We recommend you check levels once a month and top up when needed.
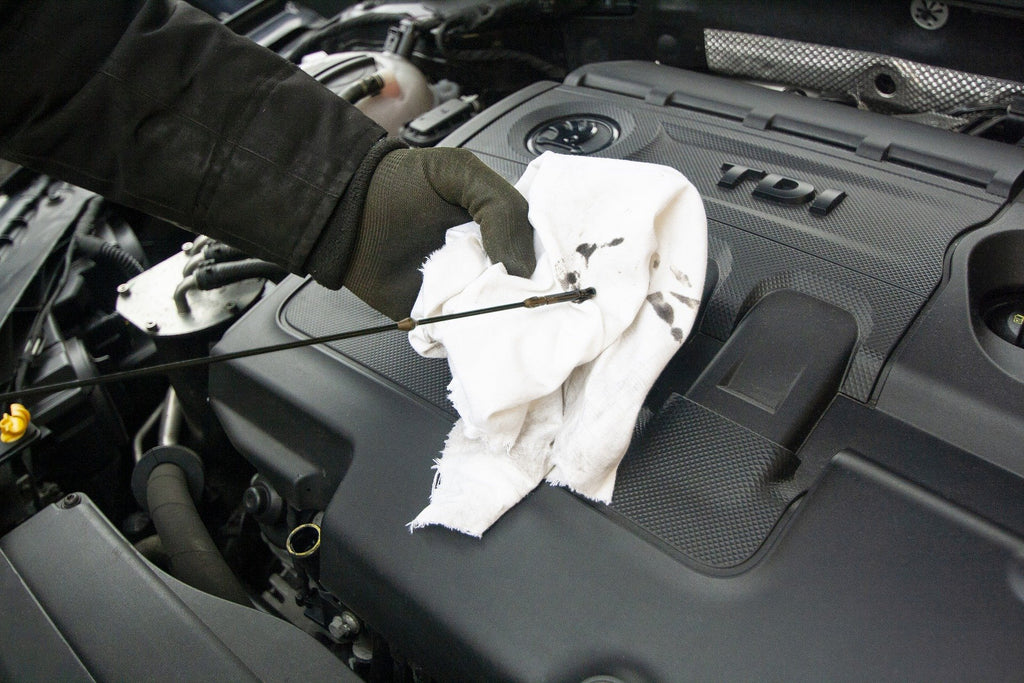
How to check the engine oil?
Remove the dipstick from the oil and wipe it clean, dip it all the way back into the tube before removing it again. Check the oil is at least halfway between the minimum and maximum mark on the dipstick.
You should also look out for contaminants, so if you see dirt and debris in your oil, it’s a sign that it needs changing.
The colour of the oil in the bottle is a golden yellow colour that quickly changes to a dark brown once used, this is nothing to be concerned about.
What engine oil do I need?
Before you head to the shop and buy your engine oil, firstly check what type you need. If you add the wrong oil you could end up causing damage to your vehicle.
You will be able to see what type of engine oil your van requires by looking at the oil can image on your oil cap. If there is no image, refer to the manufacturer’s manual.
How to change engine oil?
Your engine oil needs to be changed every 9,000 miles or at least once a year. Changing your engine oil can be a bit messy and should only be attempted if you are confident in what you are doing.
Before you start to change the oil, ensure you have the following to hand:
- The correct type and amount of replacement engine oil
- A wrench to remove the drain plug and filter
- A funnel
- An oil filter
- Gloves
- An oil drain pan or suitable container to collect waste oil
- A ramp or jack to elevate the level of your vehicle - depending on floor clearance
Once you have prepared your van you can then start the oil change process:
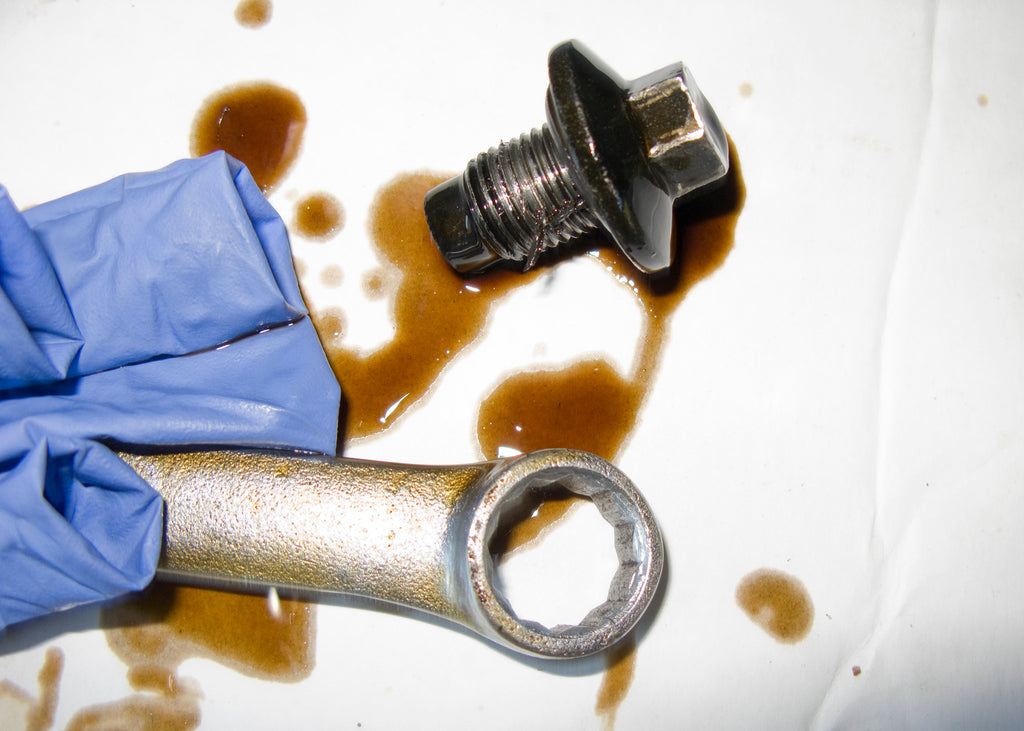
- Locate the drain plug and filter, usually located under the vehicle
- Remove the plug and filter with the container underneath to catch the waste oil
- Once all the oil has drained, add your new oil filter and replace the drain plug
- Remove the oil cap from under the bonnet and use the funnel to add ¾ of the amount recommended by the manufacturer
- Run the engine for 30-60 seconds to circulate the new oil and then turn the engine off
- Allow the engine to cool whilst checking the underneath of the van for leakage
- Before you check the oil level of your van you should ensure that it is level, remove any ramps or jacks from under the vehicle. You can now add the additional oil ensuring it is at the correct levels
- Dispose of your waste oil responsibly, contact your local council for information on your nearest oil bank
How to check engine coolant level?
Engine coolant is a water-based liquid used to stop your engine from overheating. Most modern vehicles have a dashboard light that will warn you if there are any issues.
To check the engine coolant, first locate the tank, if you are unsure which tank is for the coolant refer to your manual. Once you have found the expansion tank use the min and max marks on the side to see the levels. If your coolant level is below the minimum level, then a top-up is needed.
If your vehicle keeps overheating, we would recommend checking the coolant levels once the engine is cold.
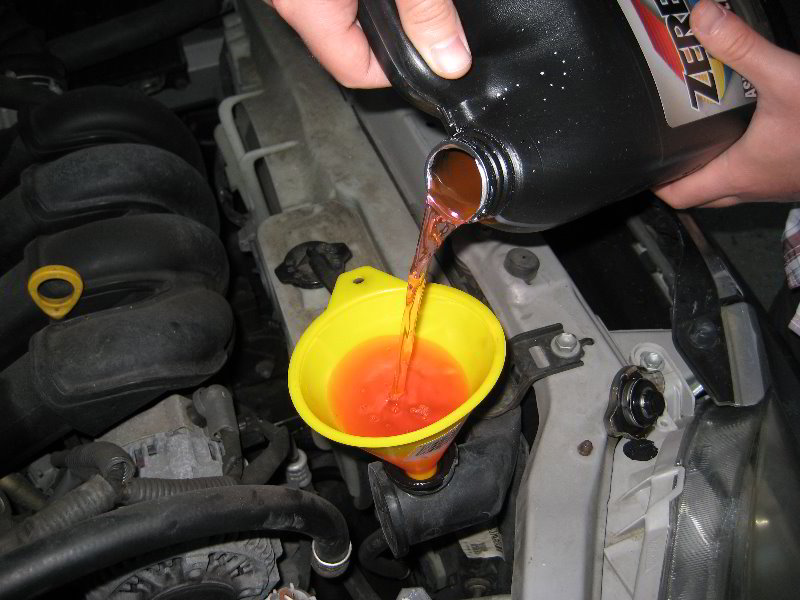
How to top up engine coolant
Some vehicles need different types of coolant, ensure you have the right one for your make and model before adding to your vehicle.
Always wait until the engine is cold, remove the lid and make sure you have the correct type of coolant to hand. Once the cap is removed slowly add the coolant to the expansion tank, ensuring you don’t exceed the maximum level and replace the cap once complete.
If you are unsure and don’t feel confident doing this, take your van to your local garage and they will be able to do this for you.
When to change your engine coolant?
From time to time the engine coolant may need replacing. Each vehicle is different so refer to the manufacturer’s manual.
If you notice discolouration this can also be a sign that your engine coolant needs replacing, and we would recommend seeking professional help from your local garage.
How to check power steering fluid
Power steering is a feature on most vehicles, allowing you to turn the steering wheel with little effort. You can usually find the power steering fluid reservoir clearly labelled under the bonnet, always check the manual if you’re unsure.
For most vehicles, start your vehicle and leave it running for a couple of minutes whilst turning the steering wheel as far left and then as far right as it will go several times. This is so that the reading is more accurate, but then remember to switch off the engine.
Before removing the cap, ensure it is clean and free of debris to prevent anything falling into the reservoir.
The reservoir will either be clear with min and max levels on it or it will have a dipstick. If your coolant reservoir has a dipstick you should remove this and give it a wipe before placing it back in fully before removing to check the level.
How to top up power steering fluid?
Ensure you are using the right type of power steering fluid for your van. Use a funnel to top up the levels, pouring in small amounts at a time to ensure you stay below the maximum.

On a clear tank, you will be able to see the lines, whereas if a dipstick is required you will have to keep inserting the stick until you are happy the fluid is at the correct level.
If you’ve recently checked the levels and they are low again, take your van to a mechanic who can check for leaks.
How to check windshield washer fluid?
A clean windshield is vital, especially in warmer weather when the sun casts a glare over your windshield. Keep a spare bottle of washer fluid in your van to ensure you never run out.
How to put in windshield washer fluid?
Washer fluid is added under the bonnet and usually, the tank cap will have an image of a windshield to make it recognisable. Don’t forget to wipe the cap before removing to ensure no dirt falls into the tank.
There is usually a measurement marker to indicate how full your windshield washer fluid is, if it is less than half full you should top this up using the correct fluid. Ensure the cap is replaced and tightened before closing the bonnet.
Making additional vehicle checks
There are many other checks that can help you get the best from your vehicle and ensure it is both economical and safe to run.
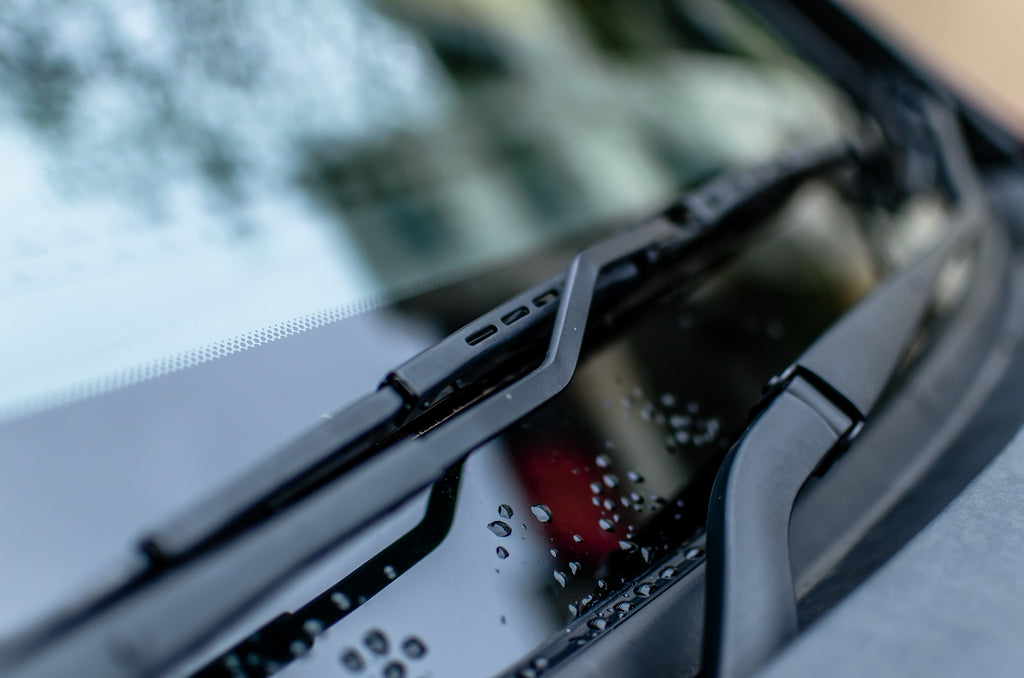
Check your windscreen wipers
Windscreen wipers help keep your front and rear windscreen clean to ensure that you have a clear view. It is recommended that they are changed every 6 to 12 months however if you notice a difference in your driving visibility once you have used them then this is an indication that they need replacing.
The size of the windscreen wiper varies from vehicle to vehicle so always check which ones you need before heading to the shop.
Before attempting to change the wipers, make sure your vehicle is turned off and remove your key from the ignition.
- Lift the windscreen wiper arm away from the glass, extending it fully until it locks in an upright position
- Find the locking tab and push down to unlock
- Slide the old blade out from the arm, making sure the arm does not spring back towards the windscreen causing it to shatter
- Slide the new windscreen wiper onto the arm and click the locking tab into place
- Carefully place the wiper arm back down onto the screen
It may be that your windscreen wiper needs cleaning rather than replacing, carefully lift the arm up away from the windscreen and wipe the rubber blade with a damp cloth and mild detergent such as washing up liquid. Put the arm down and test the quality of the blade by starting your car and squirting the windscreen washer fluid on the window.
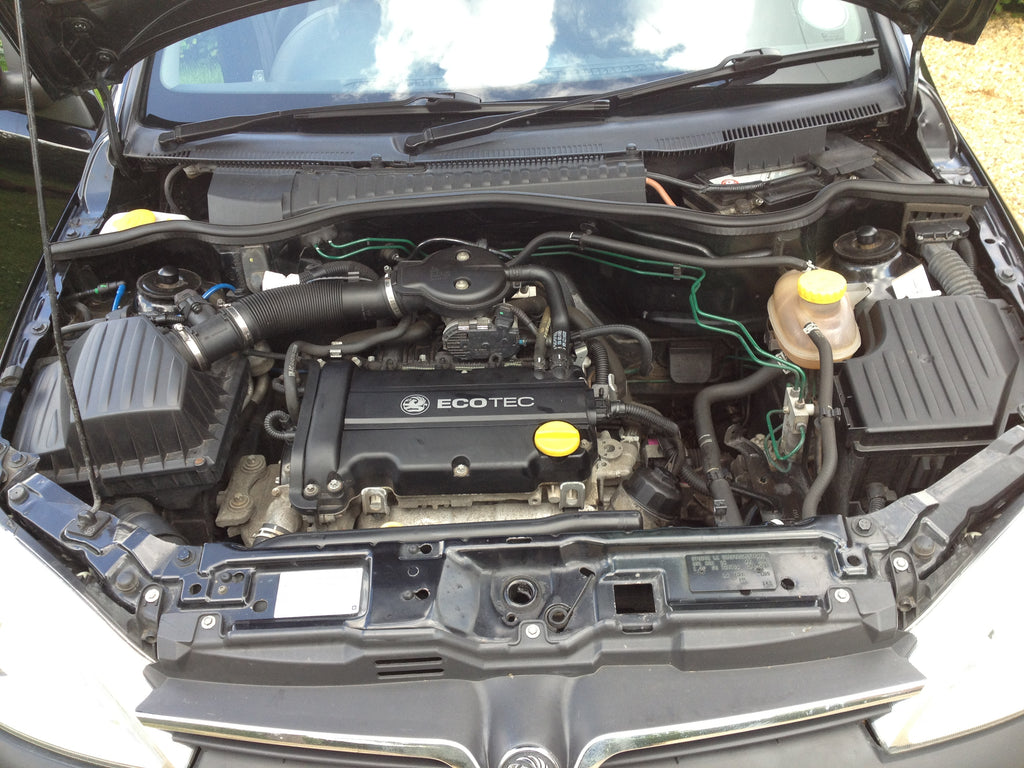
Check your engine air filter
Air is just as important to your van as fuel and the engine air filter prevents dust and other contaminants from getting into the engine. How often it needs replacing will vary depending on the climate and environmental conditions.
You should replace the filter when needed to prevent damage to the engine and help performance. You may be able to tell that your air filter needs replacing by looking at it and it appears black.
Replace the filter if it appears particularly dirty, ensuring the correct air filter is purchased from your local retailer. Don’t forget to have a socket and screwdriver set to hand too.
Follow these steps to carry out your replacement:
- Ensure the engine is cold and remove any debris before taking off the housing
- Undo all screws and bolts holding the air filter cover in place
- Remove the filter and check its condition
- Clean inside the housing with a damp cloth
- Clean the filter with a vacuum or compressed air to remove any debris - do not use a damp cloth or any other liquids
- Make sure the replacement filter is fitted the correct way up and properly in place
- Then replace the housing
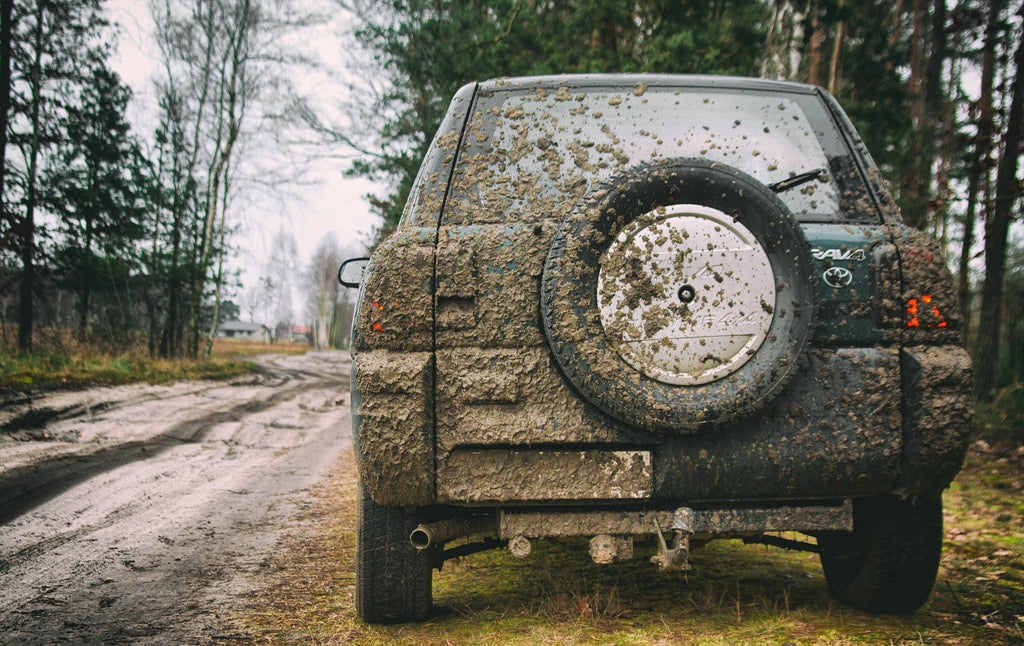
Check the cleanliness of your vehicle
Keeping the interior of your van clean is not only for hygiene purposes but for safety too.
Ensure your van is clear of rubbish, especially to prevent a hazard, getting anything stuck under your brake pedal. For more information about the cleanliness of your vehicle, then check out our recent blog post here.
The exterior of your car should also be kept clean, providing a clear line of visibility all around you and so that other road users can see you.
Did you know that you could be fined up to £2,500 and have 3 points added to your license if your windscreen is obscured? So, make sure any bird poo or any other debris is cleaned off your car before setting off on your journey.
As part of the Road Vehicles Lighting Regulation of 1989, you can also be fined up to £1,000 for having dirty headlamps or a dirty number plate. The police will pull you over!
Keeping up the maintenance of your vehicle and allowing extra time before journeys to make these simple checks will keep you and other road users safe. It will also help keep your van working efficiently for longer, saving you money in the long run.
Making sure your van is safe both inside and outside is vital, however, it’s also important you’re aware of the Chapter 8 rules and regulations in place. Find out more on how you can ensure you’re Chapter 8 compliant here.